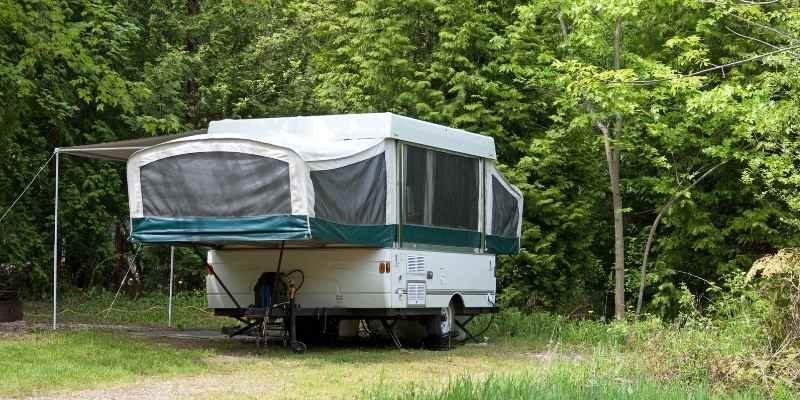
Folding pop up campers have sides made of canvas. This material can be tough to clean. Let us show you how to clean that pop-up camper canvas in just three easy steps.
The Easy Way to Clean Pop-Up Camper Canvas
When a pop-up camper is set up, it is prone to getting wet when it rains or the weather condition is cold and misty. If you fold and pack it before you dry it up, then you are setting conditions right for mold to grow on your camper’s canvas, or it’s interior. The bad news is that that growth may infect almost your entire camper. The good news is that you can prevent mold build-up if you maintain your pop-up camper properly.
The following are the steps you should undertake to remove mold from your camper and keep it in great shape.
Dry the Canvas
The canvas is usually the most susceptible joint of the camper for problems related to mildew and mold. If the mold problem is quite huge, then it is advisable you treat all the interior parts of the camper. This should include the carpets and the hard surfaces too. The canvas, however, is the most stressing problem so probably you should start with that.
- Dry your canvas by exposing your camper to sunlight. The initial step to clean up mold is by drying your camper. You expose it to direct sunlight. Direct sunlight hinders the nourishment of mold spores. Drying out your canvas however does not clean it, it just kills any live molds and prevents its spread.
Scrub the Canvas While Dry
Use a stiff broom to scrub and brush the mold from the canvas. If the mold has not grown so much then with this you can be able to remove a big portion of the problem.
Treating the Stains and Mold
Avoid chemicals that contain bleach and any bleaching agents when doing this. It is important to note that bleach does kill molds, but the problem is that it strips the canvas of its sealants. You are advised to clean with the mildest solution that you can get that is effective in clearing out the mold.
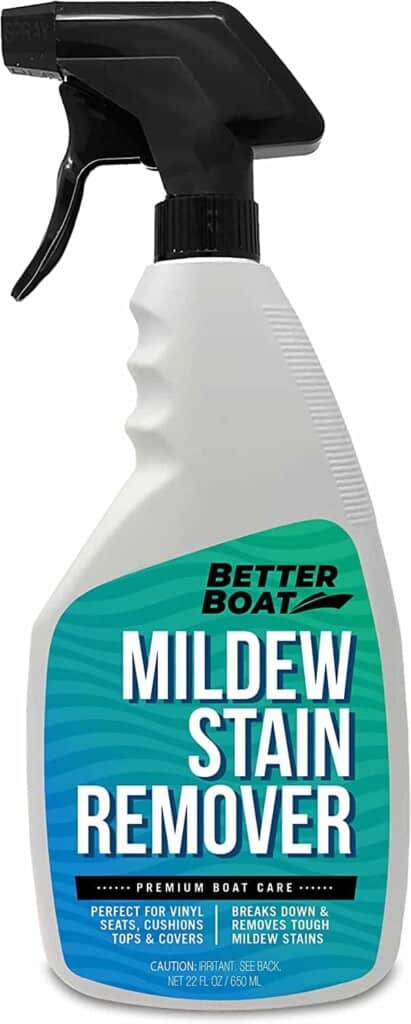
We recommend the highly-rate Better Boat Mold and Mildew Stain Remover, which you will find on Amazon. It’s a safe and effective cleaner that won’t harm your canvas.
If you make your own home solution such as vinegar you can put it in a spray bottle and apply it directly to the mold area. You can also mix the vinegar with water to make it less strong. Then use a piece of cloth to clean it. You could probably use a towel to clean up excess moisture that is on the camper and leave it out for the sunshine to dry it properly.
Repairing Problems Causing Mold
Always ensure you repair problems caused by molds before you store the pop-up camper away for the next camping season. Ensure you give the camper a treatment to assist in restoring the sealant that was on the canvas material.
How to Waterproof Your Canvas
The following are the steps you could follow to ensure that your camper is waterproof.
- Set the camper in an outdoor space. The camper should be away from trees. You don’t want your camper set up under a tree as this will definitely make it permeable by the rainwater. It should also be placed in a very open area and with close proximity to a water source. Extend it to reach its maximum size.
- Clean the pop-up camper with a soap that is mild and a soft brush. You could use some home solutions to clean up the camper but after first testing, if they are suitable for use. Good examples could be vinegar or tea tree oil. After this now rinse it well and let it dry completely. It is an effective way of how to clean up a popup camper canvas.
- Put waterproofing paint in a bucket then start applying from the top of your tent down. Continue painting while applying an even coating of the waterproof with a brush. Ensure that you paint evenly so that your camper will look attractive and not like for just some other guy.
- Now let the first coat of the paint dry and then apply another one on the top the initial. Paint is usually required to be done in two coatings so that it looks neat and in order to serve its purpose effectively.
- You will now have to apply a seam sealer to seams both inside and out. These are any possible areas whereby there could be problems that may cause leakages to the camper. You will now let the sealer dry.
- Sprinkle water on the camper to ascertain whether there is any water that can leak in. Check inside the canvas to note any possible even small leaks that may turn out to be disastrous when heavy rains come down. You could also add more water to see if it can sustain a bit of a storm without leaking.
How to Repair a Tear in the Canvas
The canvas can definitely get torn or rot from being exposed to certain elements. In order to repair a hole made on the canvas, you need to patch another piece on the hole. You cannot just sew the hole as you will destroy the waterproof capabilities of the canvas. It is advisable you do the repairs quickly to curb it from developing to a bigger problem. Here are the steps to undertake in fixing a torn part of the canvas.
- Buy a patching kit. We recommend the Tear-Aid Fabric Repair Kit on Amazon.
- Determine the measurement of the hole or the tear that is on the canvas.
- Now get a piece of the material from the patching kit and you should have purchased one that has the same color as that of your camper.
- Produce a patch that is one inch bigger than where you want to stitch all around.
- Coat the affected area on the inside of the camper with the adhesive that you have drawn from the patching kit.
- Now cover the tear or hole with the piece that is supposed to patch that area.
- Wait for it to dry for about 10 minutes.
- Extract a piece of the canvas to be used for the outside part of the camper.
- Smear the adhesive and place the canvas on it. Then wait for about 10 minutes again for it to dry up.
- Now open up the camper for approximately 24 hours so that the stitched areas will dry completely.
- The last step is spraying the area you have patched with a silicon spray that is waterproof.
Summary
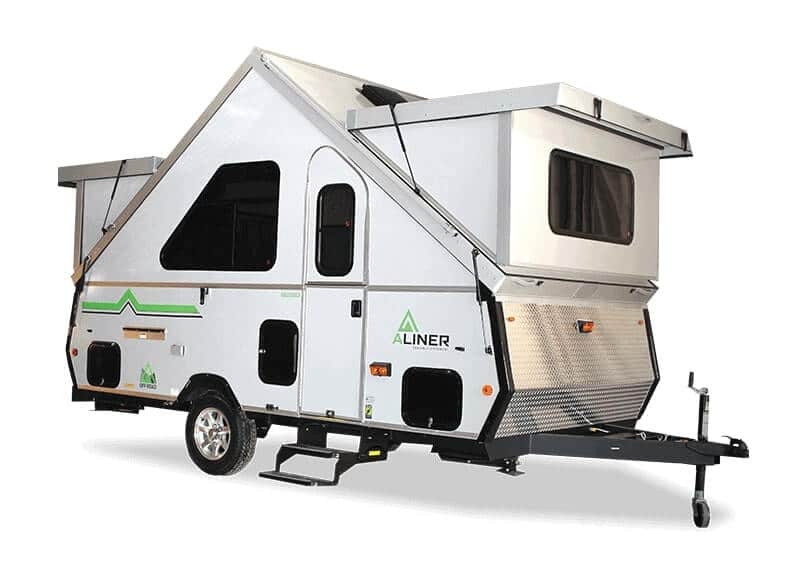
Discussed above are the key ways on how to clean up a popup camper canvas. If you follow those steps keenly you will never have a big issue with your canvas. Your RV trips will be more enjoyable as you will have one less thing to worry about. If you have an interest in camping trailer check out our list of the best pop up campers. Want to know what the average pop-up camper weighs? See our list of 15 examples.